>> Back to Previous page
BISCORNU INSTRUCTIONS (continued)
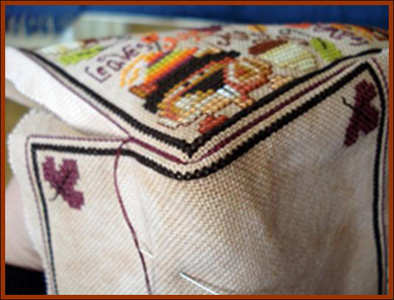
8- Continue stitching all around, you will notice that your work is becoming an eight-sided pillow.
9- Stop stitching when you have completed the sixth or seventh side, this is up to you, it is just for leaving a hole for stuffing.

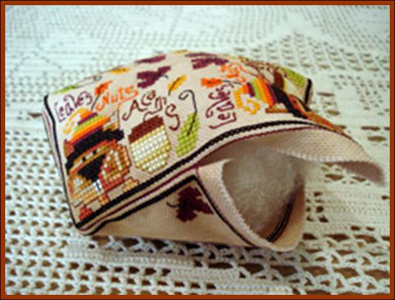
10- Stuff the biscornu, then continue stitching to close the open side(s). Pass your needle inside the biscornu and secure your thread with a hidden knot, do not leave visible threads.
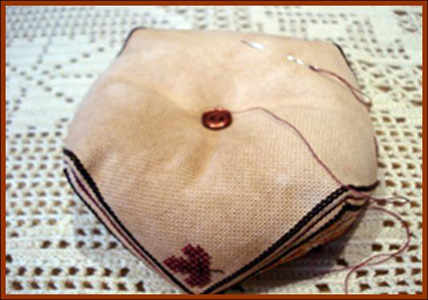
11- Choose two buttons of your choice. Sew on your buttons in the center of front and back, you should pass the needle from button to button crossing the biscornu through the center,
keep your thread taut.
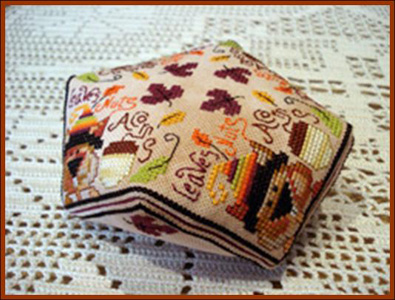
12- Your biscornu is finished!

>> See all biscornu patterns available
>> Print out these biscornu instructions
>> Back to previous page
Instructions courtesy of Barbara Ana Designs
Text and images © 2007 Barbara Ana Designs


.jpg)


